Chocolate energy cereal bars made at home in under 20 minutes, with just 4 ingredients. A genuinely satisfying snack that skips the overly processed versions sold in stores — and one that works for kids, athletes, and anyone who needs a real energy boost on the go.
Making your own snacks doesn't have to be complicated. These chocolate energy cereal bars prove that a short ingredient list and a hot oven are all you need to produce something that actually tastes good, travels well, and keeps you going through the day.
And unlike most packaged alternatives, you know exactly what's in them.
Only 4 ingredients for a genuinely energizing snack
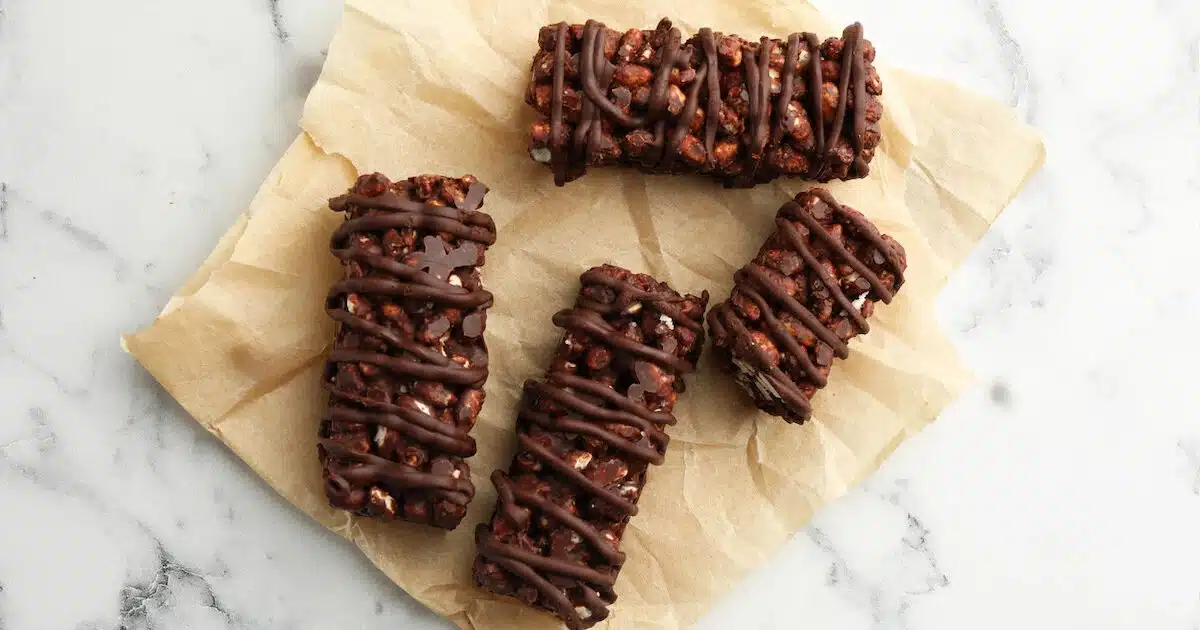
The simplicity here is the point. This recipe uses 200 g of rolled oats, 100 g of chocolate (dark or milk, your call), 50 g of maple syrup, and 50 g of coconut oil. That's it. No long ingredient list, no additives, no preservatives.
ingredients are all you need to make 8 chocolate cereal bars from scratch
Rolled oats are the backbone of this recipe. They provide slow-releasing carbohydrates that keep hunger at bay for hours, which makes these bars genuinely useful — not just a sweet treat. Maple syrup acts as a natural binder and sweetener, avoiding the refined sugars that make industrial cereal bars so problematic. Coconut oil helps melt the chocolate smoothly and gives the bars a slightly rich, satisfying texture once cooled.
Choosing the right chocolate
Whether you go with dark or milk chocolate changes the final flavor profile significantly. Dark chocolate gives a slightly bitter, more intense result that pairs beautifully with the oats. Milk chocolate produces a sweeter, more crowd-pleasing bar that kids tend to prefer. Both work perfectly at the same quantity — 100 g is enough to coat and bind the mixture without making it overly indulgent.
Customizing the base recipe
One of the strengths of this recipe is how easily it adapts. Swap the rolled oats for puffed rice and you get a lighter, crunchier texture — closer to a classic chocolate crispy bar. Stir in a handful of nuts or dried fruit before baking and you add both flavor and nutritional variety. A pinch of fleur de sel sprinkled right out of the oven is a small detail that sharpens every other flavor in the bar. These kinds of low-effort additions are exactly the approach behind budget-friendly recipe ideas that still deliver on taste.
The recipe step by step: 15 minutes in the oven
The process is straightforward enough that you can have these bars ready — cooled and cut — within about 20 minutes of active kitchen time.
Here's how it goes:
- Preheat the oven to 180°C.
- Melt the chocolate with the coconut oil until the mixture is smooth and glossy.
- Combine the rolled oats, maple syrup, and melted chocolate mixture in a bowl and stir until everything is evenly coated.
- Spread the mixture into a square baking pan lined with parchment paper, pressing it down firmly and evenly.
- Bake for 15 minutes.
- Remove from the oven and cut into 8 bars while still warm.
- Let them cool completely before handling — this is when they firm up.
Cut the bars as soon as they come out of the oven — they’re easier to shape while warm. Once cooled, they firm up and become much harder to slice cleanly.
Pressing the mixture firmly into the pan before baking matters more than it might seem. Loose, uneven layers tend to crumble once cut. A flat, compact layer ensures each bar holds together properly after cooling.
Homemade bars vs. store-bought: the real difference
The commercial cereal bar market is full of products that look healthy on the label and tell a different story in the ingredient list. Most are too sweet, heavily processed, and packed with ingredients that serve shelf life more than nutrition. Making your own version at home sidesteps all of that.
These homemade chocolate cereal bars are more economical than their industrial counterparts — four basic ingredients bought in bulk cost a fraction of a multipack from the supermarket. And they keep for several days, which means a single batch covers a full week of snacks for one person, or a couple of days for a family.
They're also genuinely portable. Wrap them individually and they fit in a school bag, gym bag, or desk drawer without any fuss. That kind of practical versatility is what separates a recipe you make once from one that becomes a regular habit. If you enjoy quick recipes that deliver real results, giant cookies ready in 12 minutes follow the same philosophy — minimal effort, maximum satisfaction.
Who these bars are actually for
The answer is: almost everyone. Children get a snack that satisfies without the sugar crash that follows most packaged options. Athletes get a compact source of energy that's easy to carry and digest before or after training. Students and office workers get something that holds them through a long morning or afternoon without reaching for something worse.
These bars store well for several days, making them ideal for weekly meal prep — one batch on Sunday covers snacks for the entire week.
The oats provide sustained energy and real satiety, while the chocolate makes the whole thing feel like a treat rather than a compromise. That balance — between something that's good for you and something you actually want to eat — is harder to find in a store than it should be. The kind of straightforward, honest cooking that prioritizes ingredients over complexity is the same spirit behind simple family recipes that have stood the test of time. These bars fit right into that tradition, just in a format built for modern life.