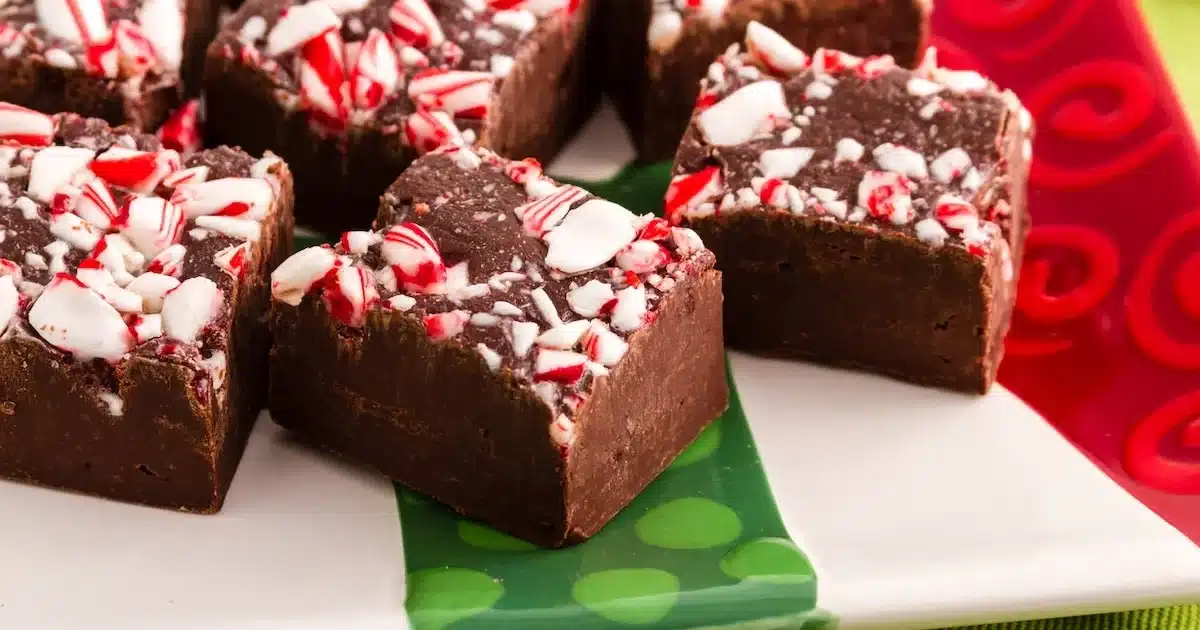
Fudgy brownie with leftover Christmas chocolate is the anti-waste recipe you need after the holidays. Five simple ingredients, 20 minutes in the oven, and those forgotten chocolate Santas or half-eaten truffles become something genuinely worth sharing.
The days after Christmas always leave the same evidence on the kitchen counter: a bowl of mixed chocolates nobody finished, a few stray truffles, some foil-wrapped figures that lost their appeal on December 26th. Throwing them away feels wrong. Eating them plain feels uninspired. But turning them into a rich, dense brownie? That's the move.
This recipe works with virtually any combination of leftover holiday chocolates — milk, dark, white, praline-filled, even the ones with a surprise center. The result will never be exactly the same twice, and that's precisely what makes it interesting.
The ingredients you need for this Christmas chocolate brownie
The base recipe is deliberately minimal. You need 200 g of Christmas chocolates (mixed varieties work perfectly), 120 g of butter, 120 g of sugar, 3 eggs, and 80 g of flour. That's it. No cocoa powder, no vanilla extract, no baking powder — the chocolate itself carries all the flavor.
The optional royal icing adds a festive touch that makes sense given the season. Mix 1 egg white with 150 to 200 g of powdered sugar and 1 teaspoon of lemon juice until you reach a smooth, spreadable consistency. The texture matters here: too liquid and it slides off the brownie, too thick and it becomes impossible to work with. Aim for something that holds a ribbon when you lift the spoon but still flows slowly.
If your leftover chocolates include filled varieties (caramel, praline, ganache), they’ll melt into the batter and add unexpected layers of flavor. No need to remove the fillings — embrace the randomness.
Step-by-step method for a perfectly fudgy texture
Melting the chocolate and building the base
Start by preheating your oven to 180°C. While it heats, melt the 200 g of Christmas chocolates together with the 120 g of butter. You can use a bain-marie for a gentler melt, or the microwave in short 30-second bursts, stirring between each. The goal is a completely smooth, glossy mixture with no lumps.
Once the chocolate-butter mixture is smooth, stir in the 120 g of sugar. Then add the 3 eggs one at a time, mixing well between each addition. This step matters — adding them all at once can make the batter split. Finally, fold in the 80 g of flour and mix until just combined. Overmixing at this stage develops gluten and works against the dense, fudgy texture you're after.
Baking and checking doneness
Pour the batter into a square baking pan and slide it into the oven for exactly 20 minutes. The classic knife test applies here: insert the tip of a knife into the center of the brownie. It should come out slightly damp, not clean. A clean knife means the brownie is overbaked and will be dry rather than fudgy.
And here's where patience comes in. The brownie will look underdone when it comes out of the oven. It will feel soft, almost loose in the center. But as it cools, it firms up and sets into that characteristic dense, almost chewy texture. Leave it to cool in the pan before attempting to unmold it. Rushing this step is the most common mistake with chocolate brownie recipes.
Variations and toppings to customize your anti-waste brownie
The base recipe is a starting point, not a constraint. Once the batter is ready, you can fold in toasted hazelnuts, crushed walnuts, or extra chocolate chips before baking. Each addition changes the final texture slightly — nuts add crunch that contrasts with the soft interior, while extra chocolate chips create pockets of intense flavor throughout.
The royal icing is optional but visually effective, especially if you're serving this to kids or bringing it to a post-holiday gathering. Drizzle it over the cooled brownie in irregular lines for a relaxed, festive look. Because the chocolate blend changes every time depending on which leftover sweets you use, the brownie's flavor profile shifts accordingly — sometimes nuttier, sometimes more caramel-forward, sometimes deeply bitter if dark chocolates dominate.
- Uses up leftover Christmas chocolates with zero waste
- Only 5 base ingredients needed
- Ready in 20 minutes of baking time
- Endlessly customizable with nuts, chips, or icing
- Result varies depending on chocolate mix — no two batches are identical
- Must cool fully before unmolding or it falls apart
- Royal icing consistency requires attention
- Best consumed within 2 to 3 days
This approach to reducing food waste after the holidays isn't limited to chocolate, of course. The same logic applies to overripe bananas, which become the basis of a great anti-waste banana bread, or to leftover vegetables that transform into a satisfying crispy rice dish. The principle is the same: treat what's left over as an ingredient, not a problem.
Storing your brownie and getting the most out of it
maximum storage time for this Christmas chocolate brownie
Once fully cooled and cut into squares, store the brownie in an airtight container at room temperature. It keeps well for 2 to 3 days, and many people find the texture actually improves on day two as the interior continues to set and the flavors meld. Keep it away from direct heat or sunlight, which can cause the chocolate to bloom or the surface to dry out.
If you've added royal icing, wait until it has fully hardened before stacking the pieces. Soft icing will smear and stick, which doesn't affect the taste but makes presentation messier. And if you're looking for more quick dessert ideas that come together in under 20 minutes, the same logic of simple ingredients and minimal technique applies across the board. The best baking rarely requires complexity — just attention to a few key moments: the melt, the mix, the bake, and the cooling.